Orientation and setup
Estimated reading time: 4 minutes
Welcome! We are excited that you want to learn Docker.
This page contains step-by-step instructions on how to get started with Docker. In this tutorial, you’ll learn how to:
- Build and run an image as a container
- Share images using Docker Hub
- Deploy Docker applications using multiple containers with a database
- Running applications using Docker Compose
In addition, you’ll also learn about the best practices for building images, including instructions on how to scan your images for security vulnerabilities.
If you are looking for information on how to containerize an application using your favorite language, see Language-specific getting started guides.
We also recommend the video walkthrough from DockerCon 2020.
Download and install Docker
This tutorial assumes you have a current version of Docker installed on your machine. If you do not have Docker installed, choose your preferred operating system below to download Docker:
Mac with Intel chip Mac with Apple chip Windows Linux
For Docker Desktop installation instructions, see Install Docker Desktop on Mac and Install Docker Desktop on Windows.
By downloading Docker Desktop, you agree to the terms of the Docker Software End User License Agreement and the Docker Data Processing Agreement.
Start the tutorial
If you’ve already run the command to get started with the tutorial, congratulations! If not, open a command prompt or bash window, and run the command:
docker run -d -p 80:80 docker/getting-started
You’ll notice a few flags being used. Here’s some more info on them:
-d- run the container in detached mode (in the background)-p 80:80- map port 80 of the host to port 80 in the containerdocker/getting-started- the image to use
Tip
You can combine single character flags to shorten the full command. As an example, the command above could be written as:
docker run -dp 80:80 docker/getting-started
The Docker Dashboard
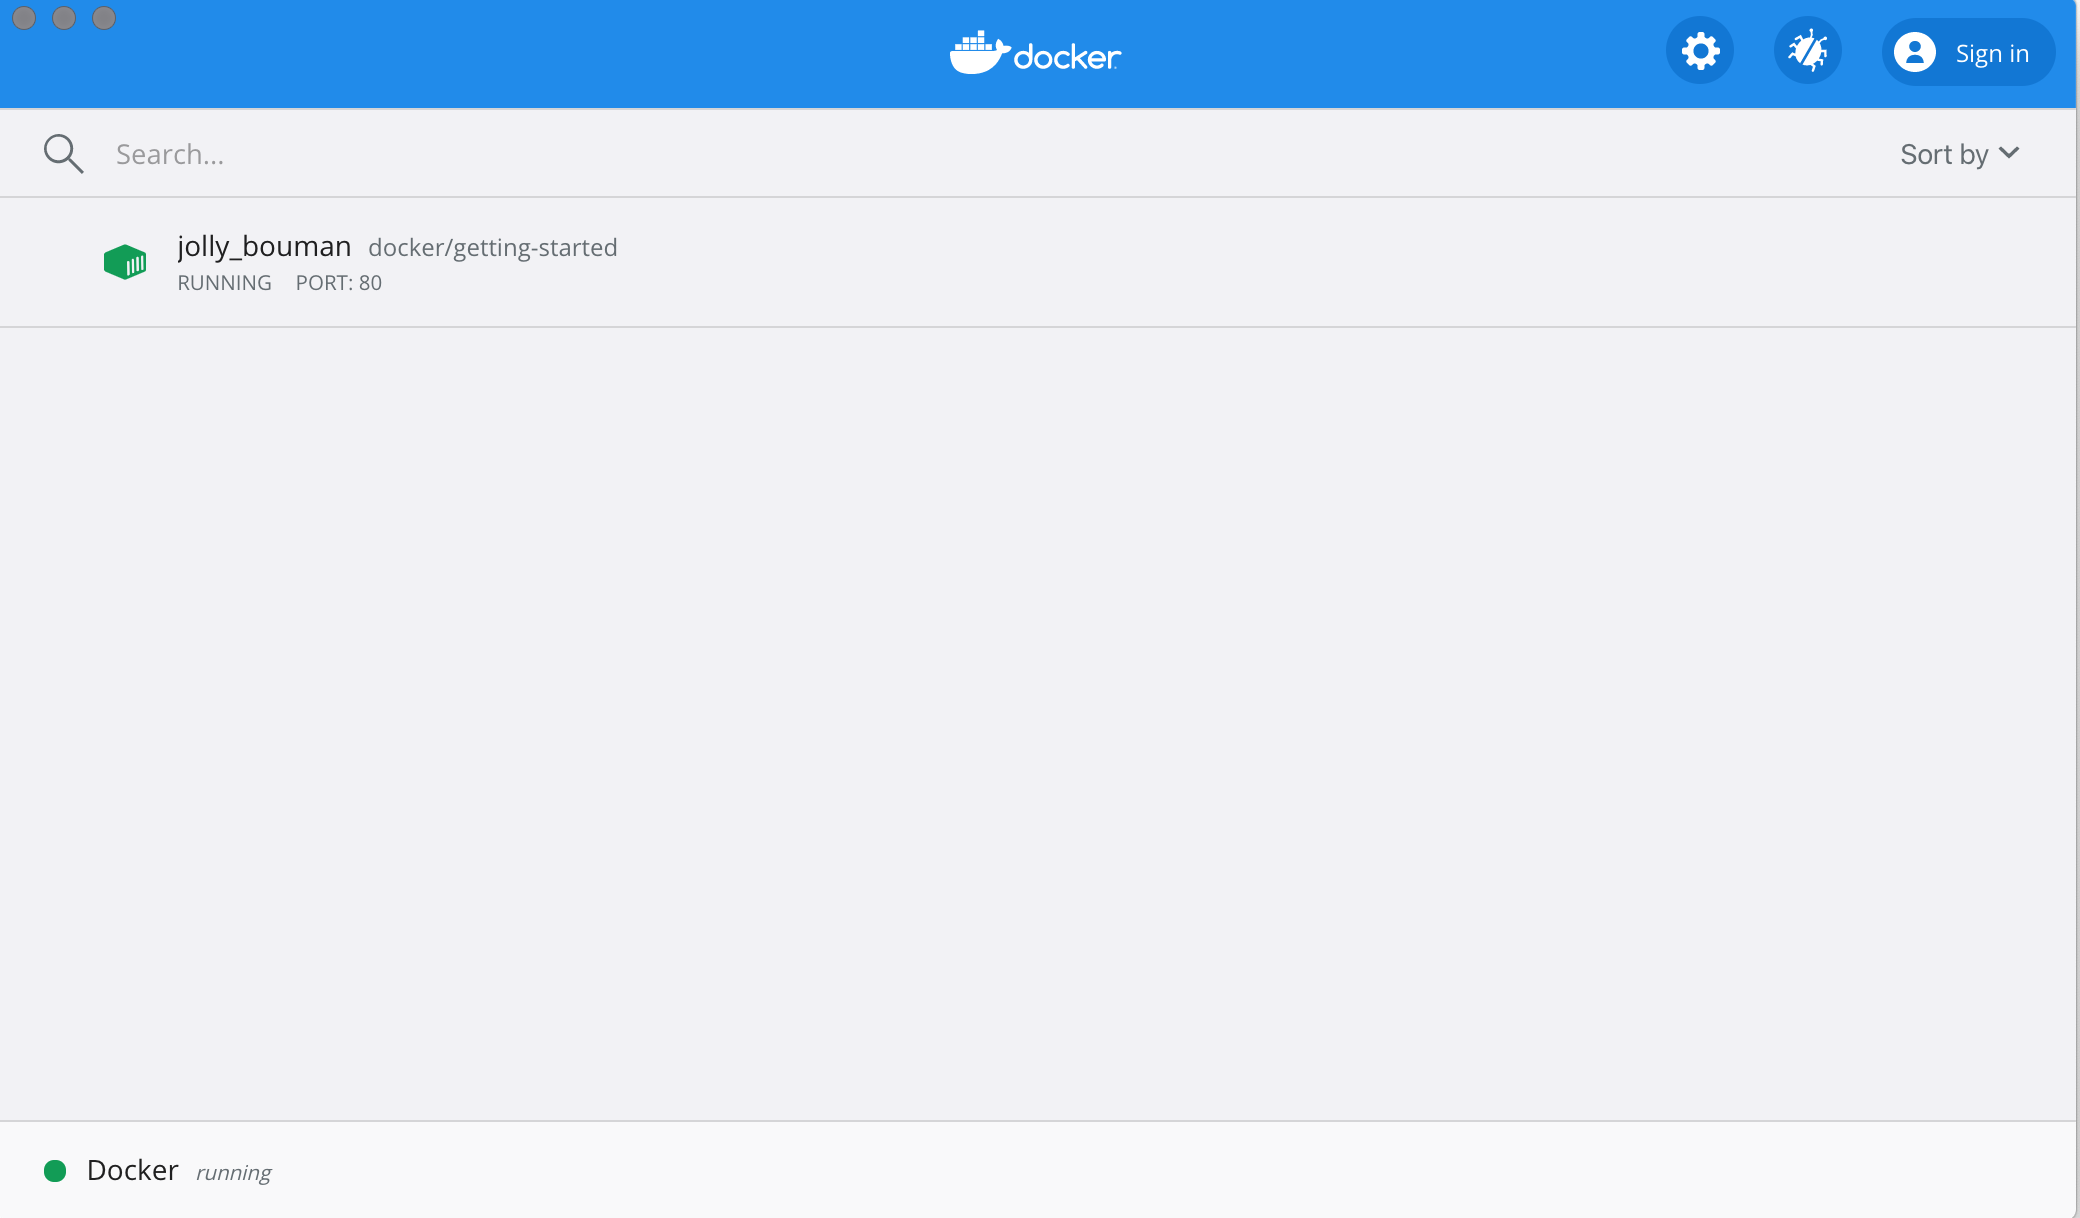
Before going too far, we want to highlight the Docker Dashboard, which gives you a quick view of the containers running on your machine. The Docker Dashboard is available for Mac and Windows. It gives you quick access to container logs, lets you get a shell inside the container, and lets you easily manage container lifecycle (stop, remove, etc.).
To access the dashboard, follow the instructions for either
Mac or
Windows. If you open the dashboard
now, you will see this tutorial running! The container name (jolly_bouman below) is a
randomly created name. So, you’ll most likely have a different name.

What is a container?
Now that you’ve run a container, what is a container? Simply put, a container is simply another process on your machine that has been isolated from all other processes on the host machine. That isolation leverages kernel namespaces and cgroups, features that have been in Linux for a long time. Docker has worked to make these capabilities approachable and easy to use.
Creating containers from scratch
If you’d like to see how containers are built from scratch, Liz Rice from Aqua Security has a fantastic talk in which she creates a container from scratch in Go. While she makes a simple container, this talk doesn’t go into networking, using images for the filesystem, and more. But, it gives a fantastic deep dive into how things are working.
What is a container image?
When running a container, it uses an isolated filesystem. This custom filesystem is provided by a container image. Since the image contains the container’s filesystem, it must contain everything needed to run an application - all dependencies, configuration, scripts, binaries, etc. The image also contains other configuration for the container, such as environment variables, a default command to run, and other metadata.
We’ll dive deeper into images later on, covering topics such as layering, best practices, and more.
Info
If you’re familiar with
chroot, think of a container as an extended version ofchroot. The filesystem is simply coming from the image. But, a container adds additional isolation not available when simply using chroot.
CLI references
Refer to the following topics for further documentation on all CLI commands used in this article:
get started, setup, orientation, quickstart, intro, concepts, containers, docker desktop